Old Fashioned Angel Biscuits
Published: June 2, 2018 · Modified: April 12, 2024 by Cindy Gibbs
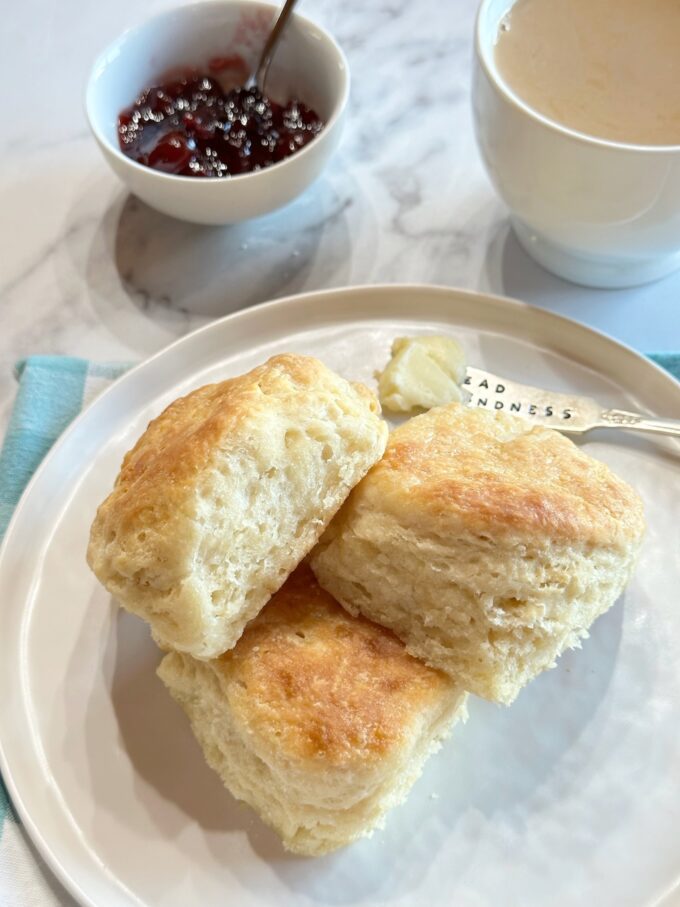
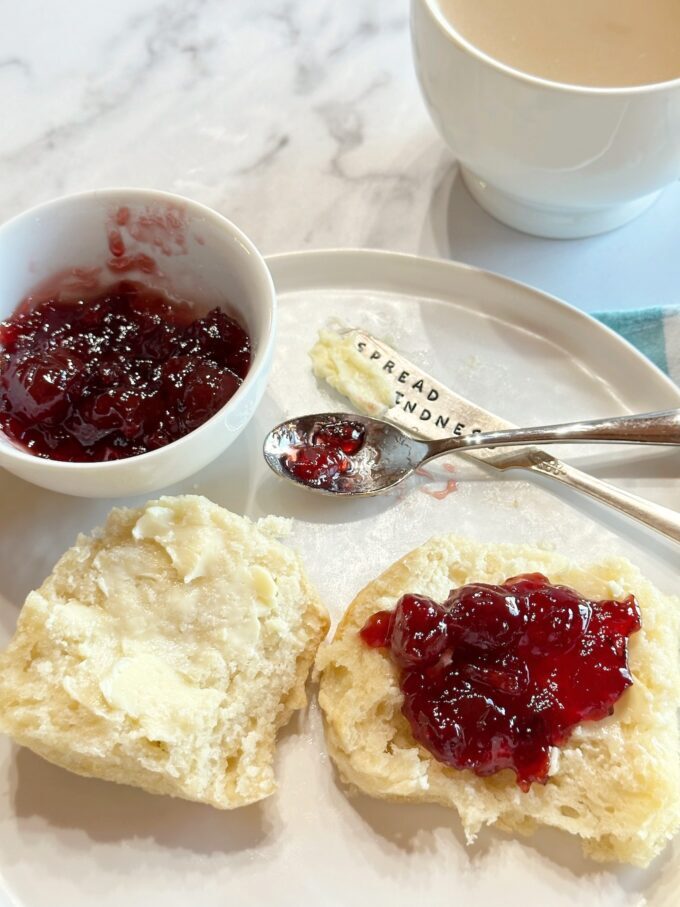
These Old Fashioned Angel Biscuits are light, fluffy and melt-in-your-mouth delicious. They have the structure of a biscuit and the soft and airy texture of a dinner roll combined into one.
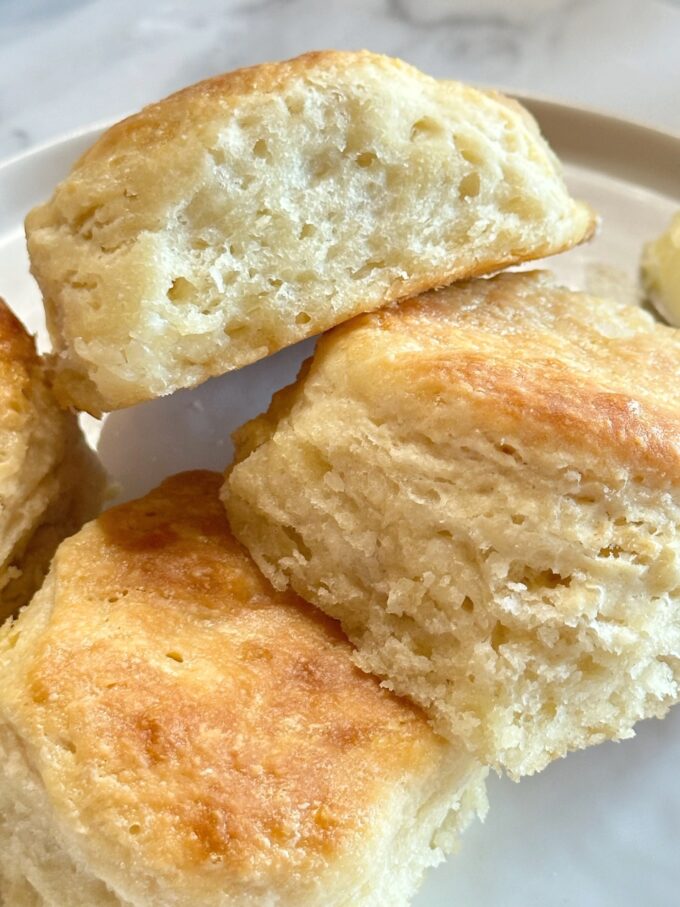
Made with three leavening agents, these fluffy and light biscuits have no where to go but upward in the oven, and they are melt-in-your-mouth delicious!
It is believed by many that light and airy Angel Biscuits became very popular back in 1950. This is when commercial yeast became available to home bakers. At this point and time, home bakers were still somewhat skeptical of the ability of yeast to make bread dough rise. Therefore, to ensure success, they added baking powder and baking soda along with the experimentation of yeast.
What was the result of this new experimentation of combining yeast, baking powder, and baking soda? The perfect combination of half biscuit and half dinner roll. They had the structure of a biscuit, yet the light and airy texture of a dinner roll. Many Southern cooks bragged about their new-found biscuit recipe made with yeast.
It’s not surprising that angel biscuits are still such a popular biscuit recipe today, and you can make them yourself with just a few basic ingredients.
INGREDIENTS NEEDED FOR THIS RECIPE
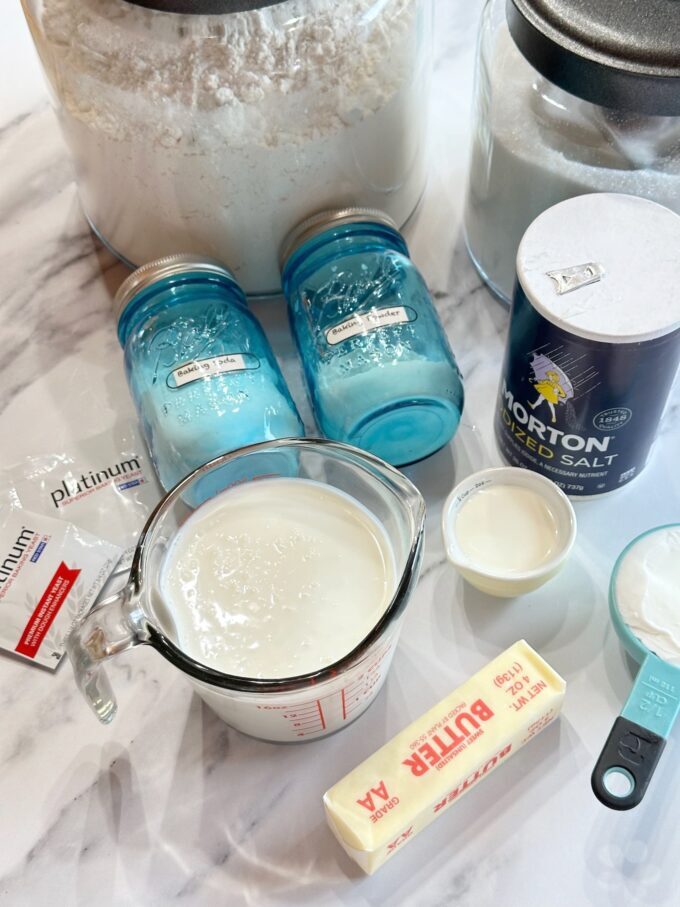
All-Purpose Flour: All purpose flour is used in this recipe, because it doesn’t contain leavening agents. We are adding our own leavening agents…baking powder, baking soda and a bonus leavener, yeast. Make sure to fluff up the flour, then spoon it into your measuring cup and level off with a knife. This is really important when your using 5 cups of flour as we are in this recipe. Too much flour equals dry biscuits.
Full-Fat Buttermilk: Adds moistness and richness, and the acid in buttermilk makes for a tender crumb. Try to use full-fat vs. low-fat buttermilk if you can. If you don’t have buttermilk, you can bake a buttermilk substitute by mixing 1 cup of milk with 1 tablespoon of vinegar or lemon juice and allowing it to sit for a couple of minutes.
Unsalted butter: Use unsalted butter. We’re already adding salt to this recipe. Butter adds lots of flavor to biscuits, however, using all butter will result in a more dense biscuit. That’s why we use part shortening.
Solid Shortening: Solid shortening is used in this recipe along with butter. Shortening makes biscuits softer and lighter, since it’s a solid fat. It only blends partially with the dry ingredients, resulting in streaks of fat throughout the dough. This is what helps the biscuits to be light and flaky.
Active Dry Yeast: You can use active dry yeast in this recipe, or you can use “instant” or “rapid rise” yeast. I used rapid rise. Rapid rise doesn’t need to be proofed, but I still proof my yeast, regardless of what type I use. It’s just a safety step to ensure the yeast is still good.
Baking Soda: Baking soda is a leavener. When combined with buttermilk (an acid) in this recipe, it produces carbon dioxide gas, giving rise to the cupcakes. Make sure your baking soda & baking powder are both fresh. Click here to see how to test both for freshness.
Baking Powder: Also a leavener, it also helps the cupcakes to rise. I always use double-acting baking powder. It gets activated twice, once when mixed with the wet ingredients, and again by the heat in the oven. If you use single-acting baking powder, try to get your cupcakes in the oven as soon as possible after the batter is mixed.
Salt: Salt enhances the flavors in baked goods.
Sugar: Adds a tiny bit of sweetness. If you don’t like sugar in your biscuits, feel free to omit it. This recipe only calls for 2 teaspoons of sugar. I personally omit it.
How To Make This Recipe
Proof the yeast:
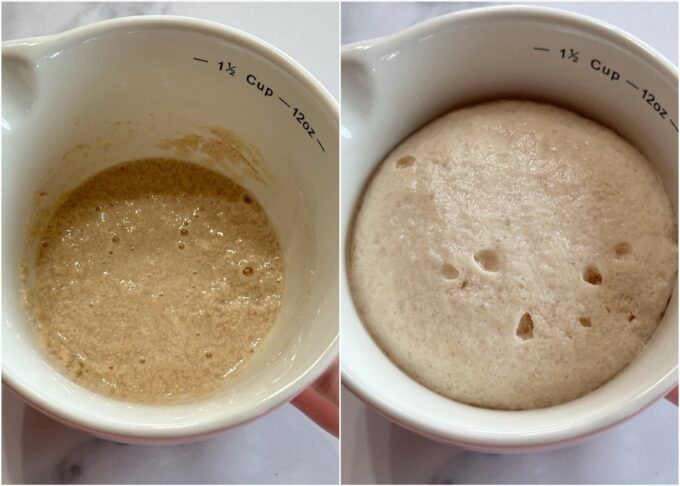
Add the yeast to 2 tablespoons of warm water between 105 and 115 degrees. Allow it to sit for at least five minutes until it’s foamy/frothy on top. Meantime make the dough. If you’re using rapid rise yeast, you can skip this step, but I recommend doing it. This way you’ll know if your yeast is still good.
Make the dough:
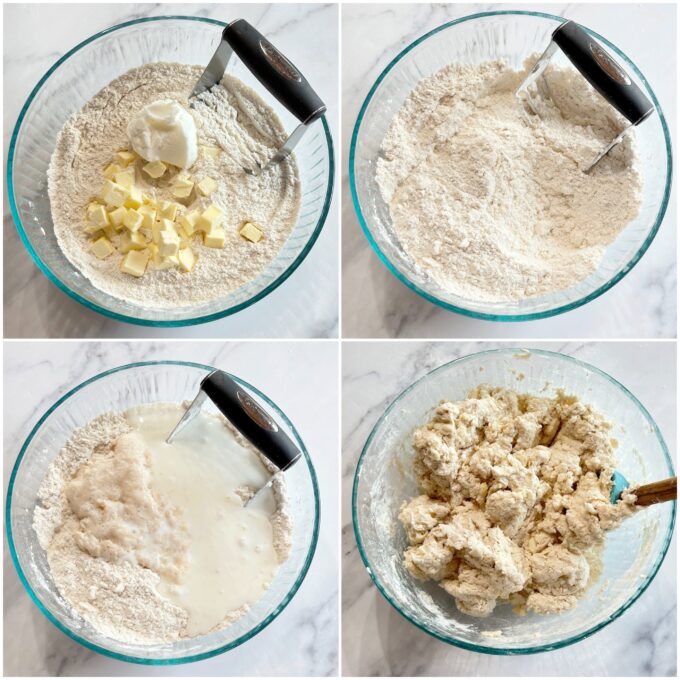
Sift or whisk the flour in a large bowl with the baking powder, baking soda, salt and sugar. There’s 5 cups of flour, so make sure everything is mixed together thoroughly. Cut in the shortening and butter with a pastry blender until the mixture resembles coarse crumbs.
Add the buttermilk and yeast mixture and mix just until the dough holds together.
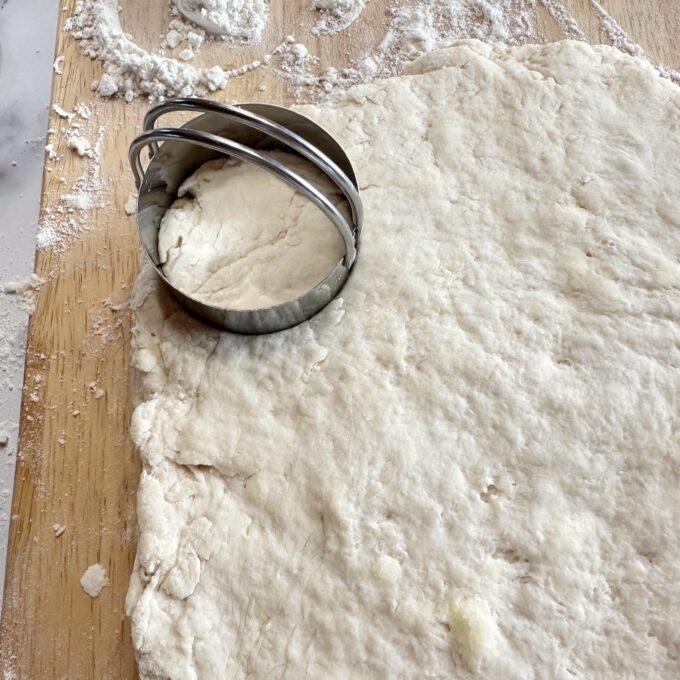
Transfer the dough onto a lightly floured surface. Lightly fold it over onto itself a couple of times with floured hands, then pat it out into a thickness of about 1/2-inch.
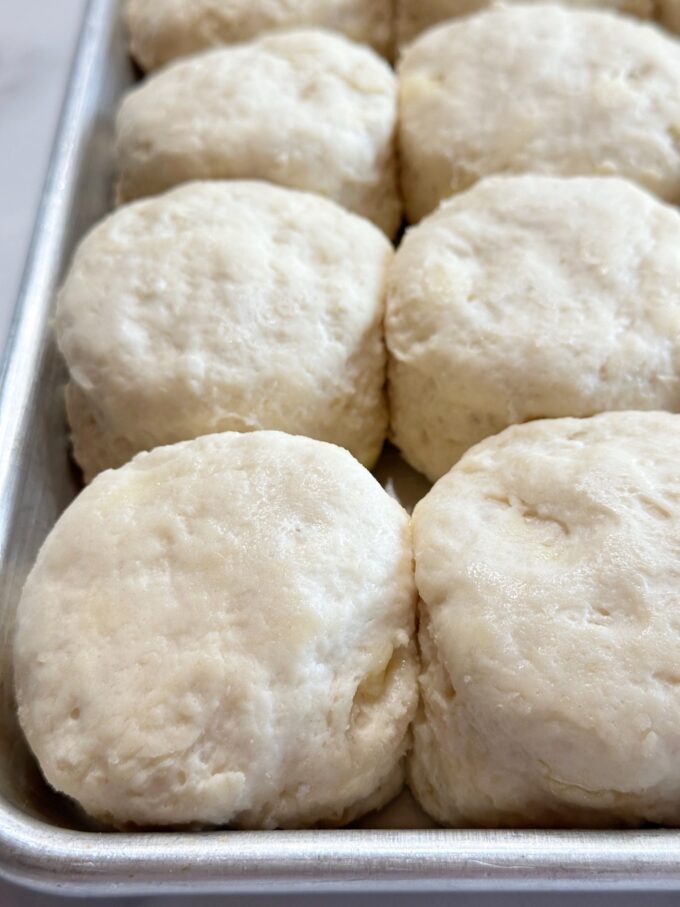
Cut with a biscuit cutter (I use a 2-inch), and place on a lightly greased baking sheet, making sure you do not twist the biscuit cutter. Cut straight down and lift cutter straight up. If you twist the cutter it will seal the edges prohibiting the biscuits to rise properly. Place the biscuits on a baking sheet or in an iron skillet.
Preheat oven to 400 degrees.
Meantime, cover the biscuits with a warm towel and place in a warm environment for 30 minutes before baking. This gives the yeast time to work.
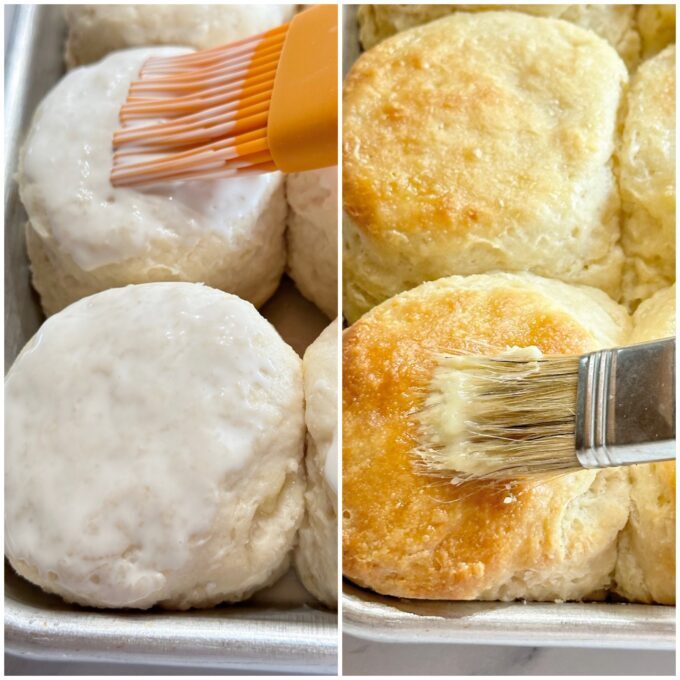
Lightly brush the biscuits with some whipping cream or half & half. If you don’t have any, don’t worry. This just helps them brown quicker. Bake biscuits until they are golden brown on top, about 10 minutes.
Brush tops with melted butter and serve hot.
Tips for making perfect Angel Biscuits…
- Make sure the yeast is mixed with the correct temperature of water 105 to 115 degrees.
- When cutting biscuits, cut straight down and lift cutter straight cup, without twisting the cutter. Twisting the cutter seals the edges of the biscuits, preventing them from rising as much.
- Make sure you allow the biscuits to rise in a warm environment for 30 minutes. These are not your ordinary biscuits. They have yeast for a reason. If the yeast is not allowed to do its job, the biscuits will be just like any other biscuit.
- Don’t over work the dough. Simply fold it over on itself a couple of times with floured hands. Lightly press it into a flattened dough, about 1/2-inch in thickness. No need to use a rolling pin.
- I recommend using a 2 to 2 1/4 inch cutter. If you’re serving them as little appetizer biscuits for a brunch or tea, you can even make them smaller like 1 1/5 inch.
- Make sure your butter and buttermilk are cold when starting this recipe.
FAQ’S
Can I use any flour for these biscuits?
You can use any all-purpose flour. Don’t use self-rising flour. It already contains the leavening agents. We’re adding them separately in this recipe. You don’t have to use a fancy flour like White Lily. Regular all-purpose flour works fine.
Can I use all butter?
I don’t recommend it. Butter gives biscuits lots of flavor, but Crisco helps the biscuits to be fluffy and light. All butter will result in biscuits that are more dense. That’s why it’s good to use 1/2 butter and 1/2 solid shortening such as Crisco.
Can I prep these biscuits in advance?
Yes. That’s the great thing about this dough. You have two options: #1 Place the dough in a lightly greased bowl, cover with plastic wrap and place in the refrigerator overnight. Remove the dough from the refrigerator, pat out and cut biscuits. Allow the biscuits to rise for at least 30 minutes before baking. #2 You can cut out the biscuits, place them in a pan and cover them. Place in the refrigerator overnight. The next day, transfer them to a counter top for at least one hour before baking. Don’t brush the biscuits with whipping cream until you’re ready to bake them. Brush them gently so as not to deflate them.
Can I bake these biscuits in an iron skillet?
You sure can. I do both. Sometimes I use an iron skillet and sometimes a cookie sheet, depending on what I’m already using my iron skillet for at the moment. They are excellent in an iron skillet. The high sides of the skillet help them to rise straight up.
More biscuit recipes you might like…
Big Fluffy Buttermilk Biscuits
Soft & Fluffy Cream Cheese Biscuits
If you make this recipe please rate it, and leave a comment below on how you liked it. I love hearing from you!
Wanna see different recipes each day? Feel free to follow me on Facebook, Pinterest and Instagram.
Print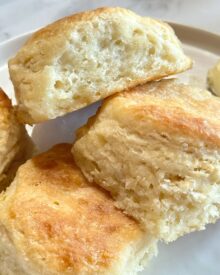
Old Fashioned Angel Biscuits
- Prep Time: 2 hours, includes refrigeration and rising
- Cook Time: 10 Minutes
- Total Time: 0 hours
- Yield: 20 – 2” biscuits 1x
- Category: Breakfast/Breads
- Method: Bake
- Cuisine: American
Description
Made with three leavening agents, these biscuits have the structure of a biscuit and the soft and airy texture of a dinner roll combined into one. Light, tender and melt-in-your-mouth delicious!
Ingredients
- 1 envelope active dry yeast, (I used rapid rise)
- 2 tablespoons very warm water, (105 to 115 degrees)
- 5 cups all purpose flour, spoon & leveled
- 2 teaspoons granulated sugar (optional)
- 1 tablespoon baking powder
- 1 teaspoon baking soda
- 1 1/2 teaspoons salt
- 1/2 cup solid shortening such as Crisco, cold
- 1/2 cup unsalted butter, cold and cut into cubes
- 2 cups full fat buttermilk, cold
- Whipping cream for brushing unbaked biscuits
- Butter for brushing baked biscuits
Additional flour for dusting work surface
Instructions
- Dissolve yeast in the warm water and set aside.
- Sift or whisk the flour in a large bowl with the baking powder, baking soda, salt and sugar. There’s 5 cups of flour, so make sure everything is mixed together thoroughly.
- Cut in the shortening and butter with a pastry blender until the mixture resembles coarse crumbs. Add the buttermilk and yeast mixture and mix just until the dough holds together. (If not baking the biscuits right away, place the dough in a lightly greased bowl, cover with plastic wrap and refrigerate.)
- Transfer the dough onto a lightly floured surface. Lightly fold it over onto itself a couple of times with floured hands, then pat it out into a thickness of about 1/2-inch.
- Cut with a biscuit cutter (I use a 2-inch), and place on a lightly greased baking sheet, making sure you do not twist the biscuit cutter. Cut straight down and lift cutter straight up.
- Preheat oven to 400 degrees.
- Meantime, cover the biscuits with a warm towel and place in a warm environment for 30 minutes before baking. This gives the yeast time to work.
- Lightly brush the biscuits with some whipping cream or half & half. If you don’t have any, don’t worry. This just helps them brown quicker. Bake biscuits until they are golden brown on top, about 10 minutes.
- Brush tops with melted butter and serve hot.
Notes
- The dough will keep for up to one week refrigerated, so feel free to use just 1/4 or 1/2 of the dough at one time.
- It’s important to allow cut biscuits to rise for at least 30 minutes before baking. Otherwise, you aren’t getting the extra benefit of using the yeast.
Hi!! I’m a biscuit lover baker. I live in México City and can’t get the shortening, may I use butter instead of shortening? Wich would be the correct measuring? Thank you!
Hi Laura, You can use 1 cup of butter instead, but they will be very buttery and more dense than with the solid shortening.
Store bought Lard and crisco are mostly interchangeable.
Hey, making these now! Can’t wait! Can I bake these in a cast iron? Thanks!
Hi Megan, I suppose you could. However, they make 20 biscuits. I haven’t made anything with yeast in an iron skillet. Let me know how they turn out! 🙂
I am making these as I read the comments. Will let you no how they came out. Thanks
Hi! Should the buttermilk be cold or room temperature before mixing in? Thank you!